
Last updated November 15, 2026
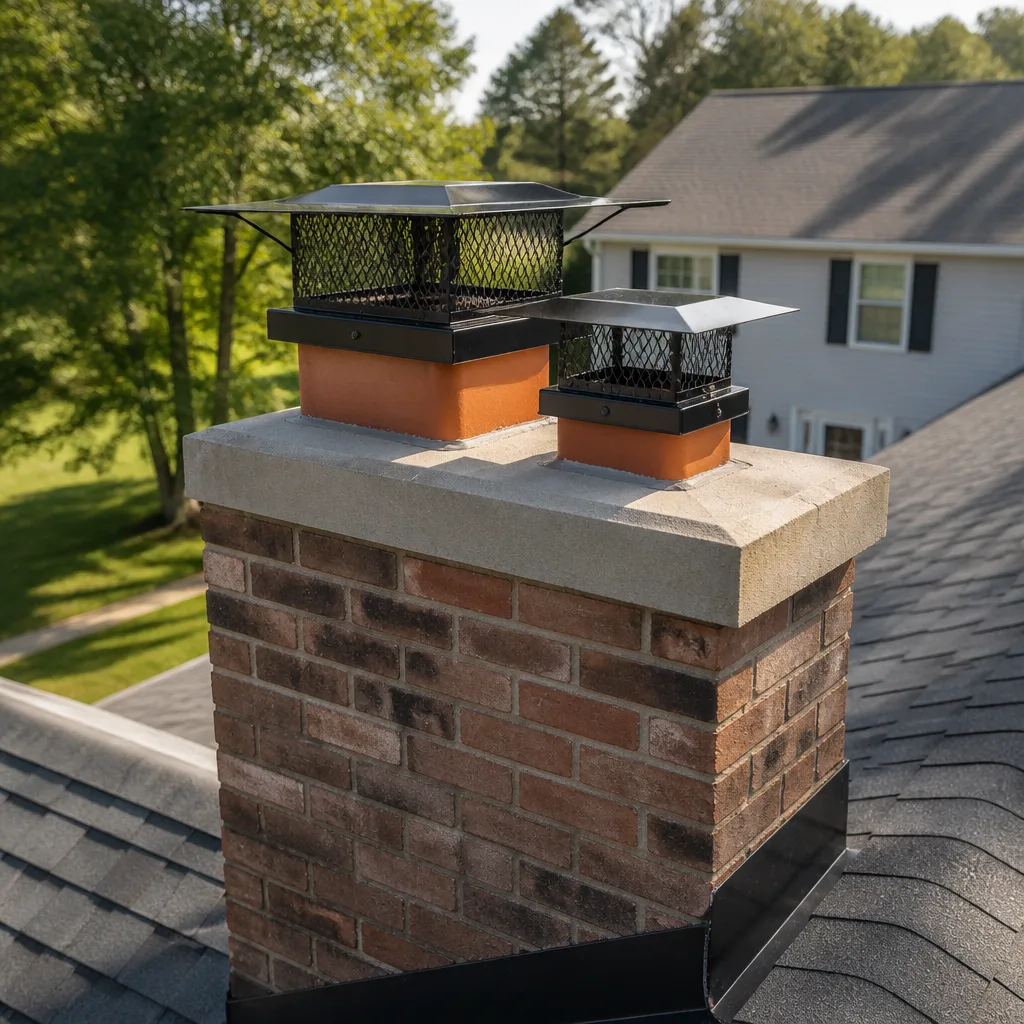 Sweep & inspection
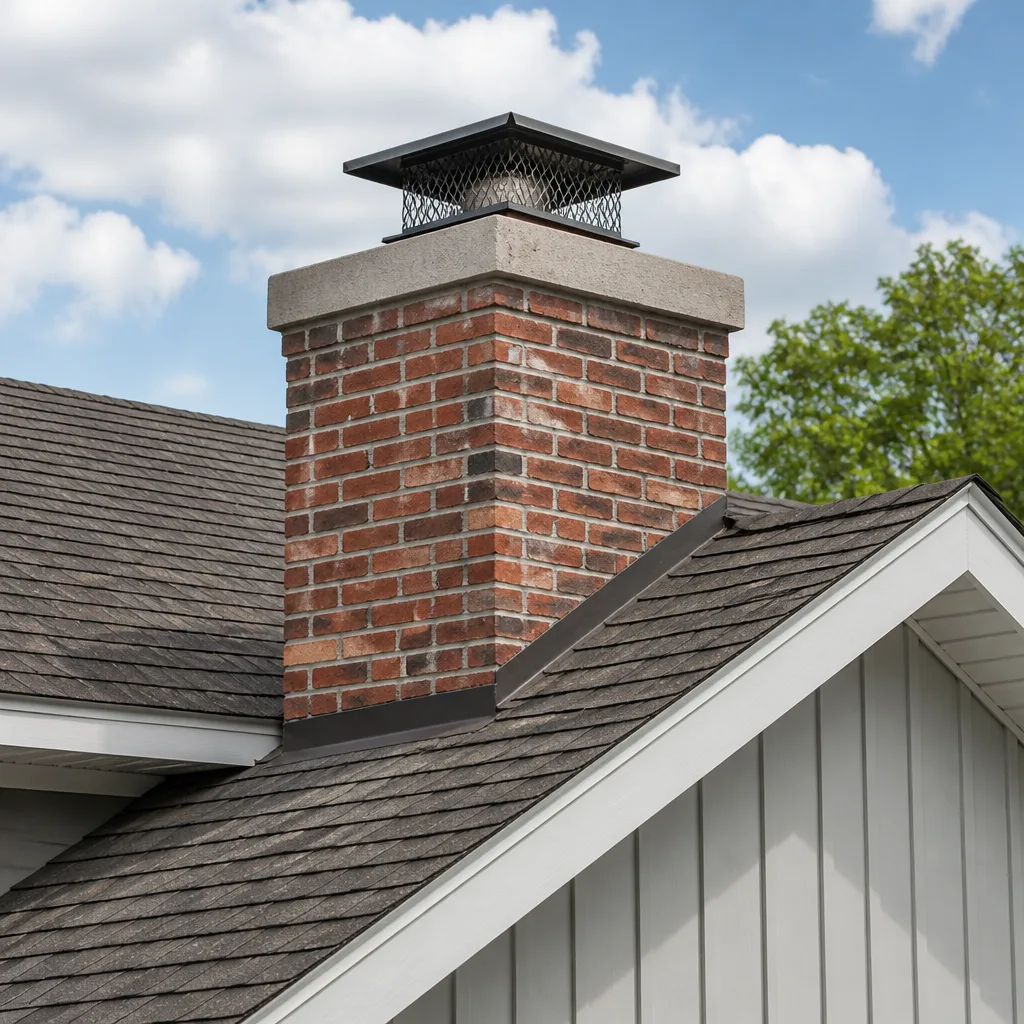 Caps & crowns
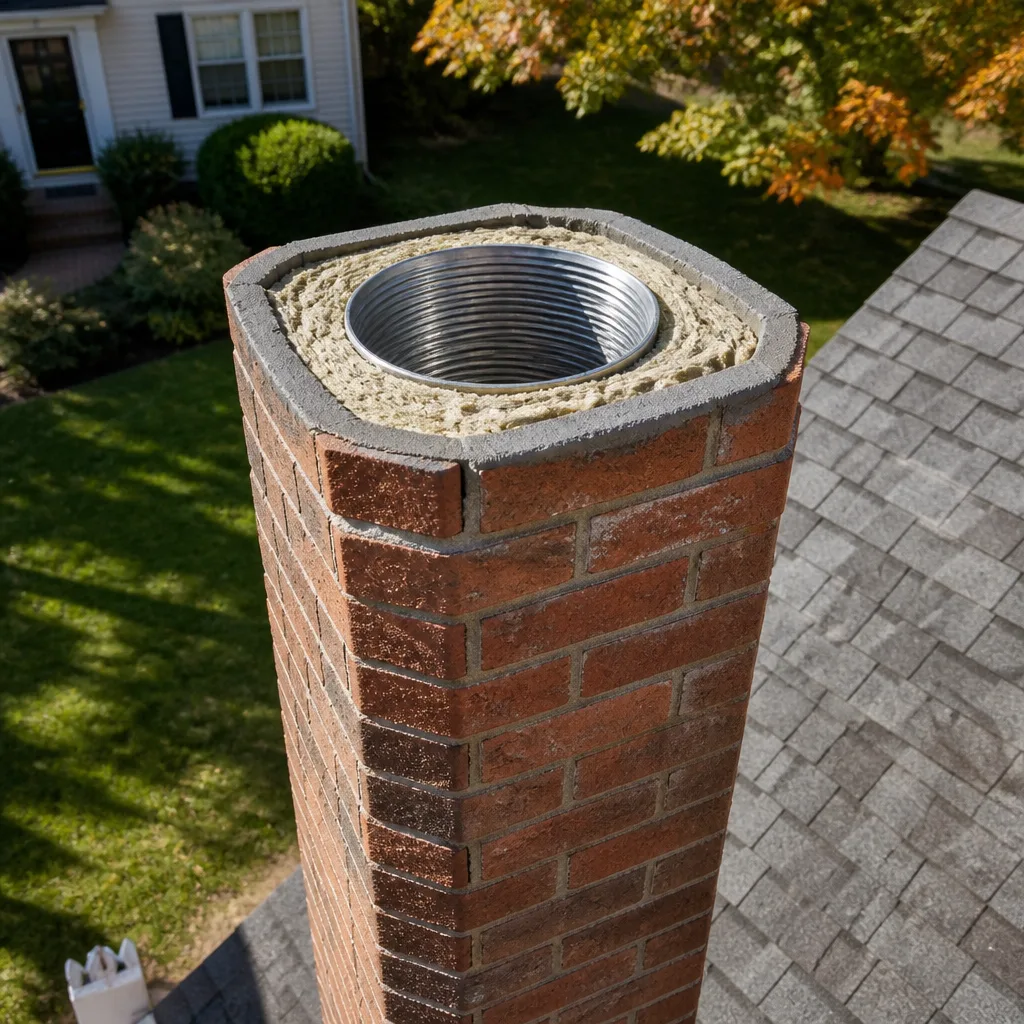 Flue relining
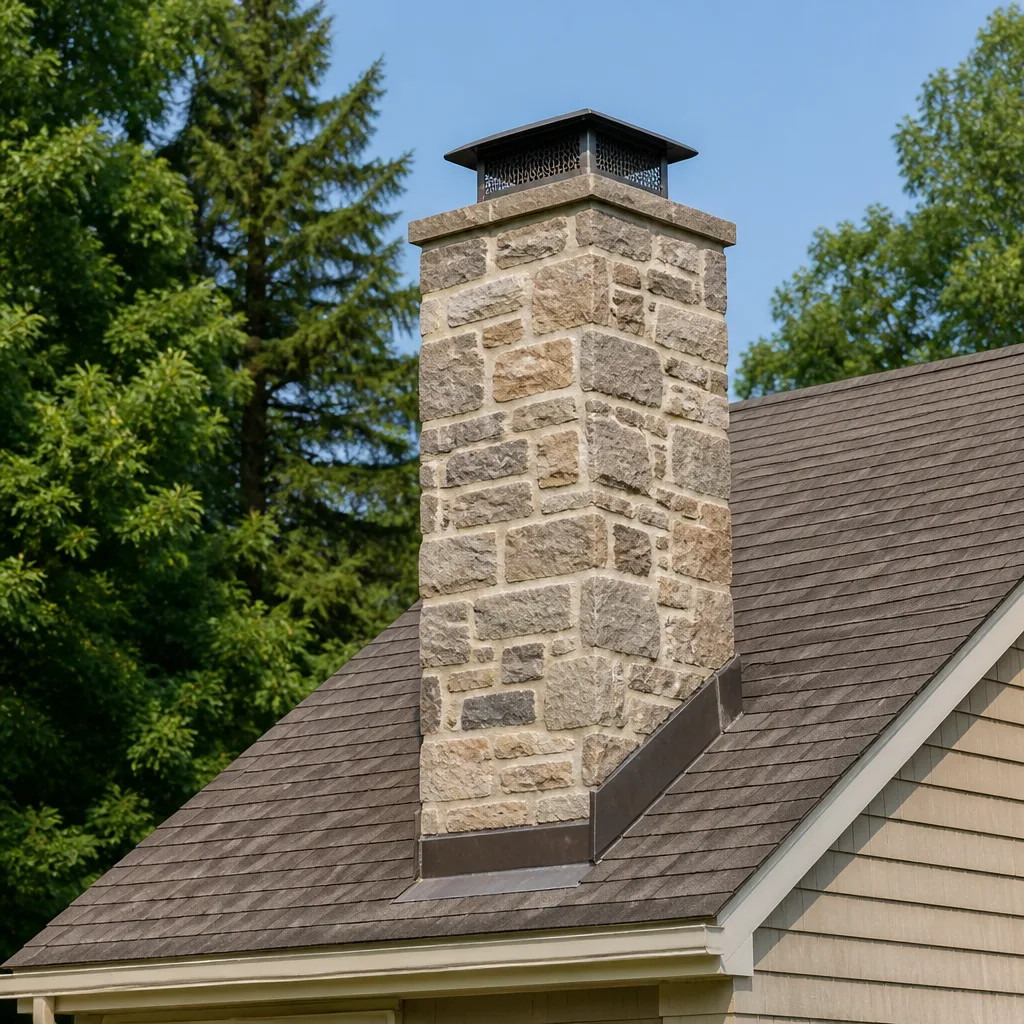 Masonry repair
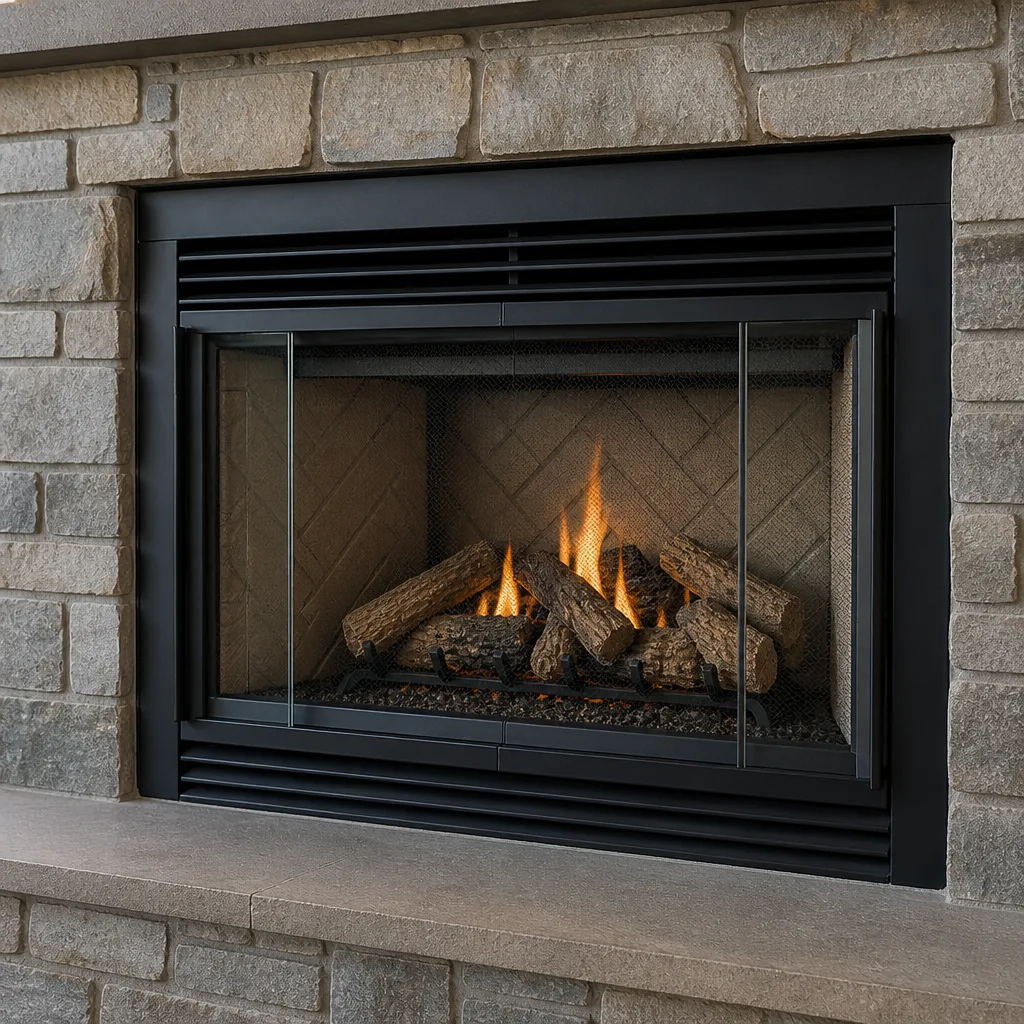 Gas fireplace service
Level 1 sweep and inspection to the NFPA 211 annual standard - flue, crown, cap, and flashing checked and photographed
Chimney sweep logs do not sweep chimneys. They loosen some creosote - which then falls where a brush and vacuum still have to collect it.
Chimney Sweep Maintenance Checklist for St. Louis Homeowners
Most chimney problems in St. Louis don’t start in the firebox. They start at the top. The cap and crown take the brunt of every hailstorm, ice event, and summer downpour this region throws at a house, and they’re the two components homeowners almost never climb up to check. Moisture gets in through a cracked crown or a missing cap, works into the masonry, and by the time you notice a stain on the ceiling you’re looking at a structural repair instead of a cleaning. This checklist walks you through the whole system, cap to firebox, and separates what you can safely observe yourself from what needs trained eyes. You’ll finish knowing what to look at, when to look, and how to track it year over year.
Styles & brands we work with
- Sweep & inspection
- Caps & crowns
- Flue relining
- Masonry repair
- Gas fireplace service
Quick Answer
A complete chimney maintenance checklist for a St. Louis home covers four checkpoints: a visual exterior inspection each spring after the last freeze, a professional sweep and inspection before the burning season starts in October, a mid-season look at creosote and draft, and a yearly written record of what you find so you can spot deterioration early. Wood-burning fireplaces should be swept and inspected annually; gas inserts and stoves still need an annual inspection even though they produce far less creosote. The single most valuable habit is documenting condition every year so you can see the rate of change instead of guessing.
Table of Contents
- Why St. Louis Chimneys Fail Differently
- Spring Checkpoint: After the Freeze-Thaw Cycle
- Summer Checkpoint: Moisture and Masonry
- Fall Checkpoint: Pre-Burn Season Sweep and Inspection
- What Homeowners Can Safely Observe
- What Requires Professional Eyes
- Reading Your Cap and Crown After Storms
- Firebox and Damper Tests You Can Do Without Tools
- How to Document Your Chimney Year Over Year
- Common Mistakes to Avoid
- When to Call a Professional
- Frequently Asked Questions
- The Bottom Line
Why St. Louis Chimneys Fail Differently
Chimneys don’t fail the same way in every climate, and a checklist built for a temperate coastal city won’t catch the failure points that actually show up in St. Louis. The difference comes down to two things: the number of freeze-thaw cycles a masonry chimney goes through each winter, and the sheer volume of summer moisture that hits from above.
When water soaks into brick, mortar, or a crown, then drops below freezing overnight and thaws the next afternoon, it expands and contracts inside the pores. Repeat that dozens of times over a winter and small cracks widen, mortar joints crumble, and spalling begins – flakes of brick face peeling off like layers of an onion. A crack that starts as hairline in November is often a real void by March. That’s why the spring inspection right after the last freeze matters more here than it does in a milder climate.
The summer side is the second half of the story. St. Louis gets heavy warm-season rain, and it arrives fast. When the cap is damaged or the crown is missing its overhang, water drives straight down the flue. The inside of a chimney is designed to handle heat and combustion gases, not standing moisture. Water sitting on a clay liner combined with creosote left over from last winter is a slow recipe for deterioration and, over time, for a repair that would’ve been a cleaning.
There’s a third factor: age and variety. St. Louis neighborhoods are full of homes from multiple building eras, and a chimney in a house built in the mid-twentieth century was built to a very different spec than one detailed in recent decades. The system might be a bare flue with a single clay tile liner, an unlined brick chase, or a modern factory-built unit. Each fails in its own way. Our technicians have up to 12 years of experience reading exactly these variations, and it’s why we lead with inspection rather than the brush. You can’t know what to sweep, patch, or reline until you know what you’re looking at from cap to firebox. If you want the background on what a proper cleaning involves, the chimney sweep page covers it, and the Hawk Chimney Sweep overview lays out how sweep, inspection, and repair fit together under one roof.
The rest of this guide is organized around checkpoints, because a checklist you actually use is one tied to time of year, not a list that sits in a drawer. Watch the seasons, and the work sorts itself out.
Spring Checkpoint: After the Freeze-Thaw Cycle
Spring is the highest-value inspection window in St. Louis, and it’s the one most homeowners skip. The logic is simple: winter is when the damage happens, so right after the last hard freeze is when you want to find it. This checkpoint is mostly about the exterior and the masonry, and you can do a good first pass from the ground with binoculars.
Here’s what that spring pass should cover:
- Walk the yard and look up. Scan the cap, the crown, the flashing where the chimney meets the roof, and the masonry facing. With binoculars you can spot a missing cap, a full-length crack in the crown, or a chunk of missing mortar from ground level.
- Check the ground around the base. Fallen brick chips or mortar crumbs near the chimney are a sign that freeze-thaw is actively breaking the structure down. A small pile after one winter is worth a professional look.
- Look at the roofline flashing. The metal flashing that seals the chimney to the roof takes a beating from ice. Any lifted edge, missing caulk, or rust streak is a water entry point, and water at the flashing shows up as a ceiling stain far from the chimney itself.
- Walk the attic and upper ceiling. Inside, look for staining or dampness on the ceiling near the chimney. This is the interior mirror of an exterior water problem.
- Check the firebox after the burning season. Once you’ve stopped burning for the year, the firebox bricks and mortar joints are easy to see and easy to read.
The spring pass isn’t a substitute for a professional inspection, but it catches the obvious failures – the cap that’s gone, the crown that’s cracked through – before summer rain gets months to work on them. If your spring walk turns up anything that looks structural, don’t wait for fall. Catching a crown crack in April means fixing a crack. Catching it in October means fixing the crown and the liner beneath it. A chimney repair that’s small in spring is rarely small by fall.
Summer Checkpoint: Moisture and Masonry
Summer is the quiet season for chimney fires but the busy season for moisture damage. Hot, humid air and heavy rain are the two things your masonry is least equipped to handle, and the failures you find in summer are the ones set up by spring. This checkpoint is less about doing and more about defending.
What to focus on:
- The cap as a rain shield. A cap with a spark screen and a solid top keeps water out of the flue while letting smoke out. A missing or rusted-through cap means every summer storm is dumping water straight into your chase. That’s the number one thing to check in high summer, because a cap is one of the least expensive components to replace and one of the most expensive to ignore.
- The crown as the roof of the chimney. The crown is the sloped concrete (or mortar) top that sheds water away from the flue. Once it’s cracked or has lost its slope, water runs into the masonry instead of off it. A crown is repairable without tearing anything down – if you catch it before the water has reached the liner.
- Efflorescence – the white chalky staining on brick. A little of this is normal. Persistent white staining that returns after rain is a sign that moisture is moving through the masonry rather than staying out. It’s a visual clue, not a death sentence, and it’s exactly the kind of thing a Hawk-eyed inspection reads correctly.
- The damper stays closed when you aren’t burning. An open damper in a humid St. Louis summer lets warm, moist air drift up a cool flue, where it condenses. Keep it closed between fires.
We’ve seen more than one homeowner who spent the summer chasing a “drip” they couldn’t locate, only to find the source at the top of the chimney. Moisture problems almost always track back up to the cap, the crown, or the flashing, in that order. A quick summer look at those three points is the single best way to protect the rest of the system.
Fall Checkpoint: Pre-Burn Season Sweep and Inspection
The fall checkpoint is the one everyone knows about, but most people get the timing slightly wrong. The goal is to have the chimney swept and inspected before your first fire of the season, not after. In St. Louis, that means you want it done before October, not in the middle of a cold snap when you’ve already built the first fire of the year. Book it early, get the findings in writing, and go into the burning season knowing exactly what you have.
The fall checkpoint has three parts, and they belong in this order:
- Sweep. The brush removes creosote and soot from the flue. Creosote is a natural byproduct of burning wood, and the degree to which it’s a fire hazard depends on what form it takes. The dry, fluffy, easy-to-brush type is routine. The glazed, hard, tar-like type is far more flammable and harder to remove, and it tends to build up when wood isn’t fully seasoned or the fire burns cool. A sweep is about removing what’s there, not a substitute for fixing what’s broken.
- Inspect. Once the flue is clean, the technician can actually see the liner, the joints, the smoke chamber, and the firebox. This is our area: a top-to-bottom assessment of the full flue system, not a cursory pass before the brush goes in. We look at the cap, crown, flashing, flue liner, smoke chamber, damper, and firebox. Hidden hazards – liner cracks, blockages, creosote pockets – surface here, before they become fires or carbon monoxide events.
- Repair (if needed). If the inspection finds something, this is when it’s addressed – before the season, not during it. That’s the practical reason we handle sweep, inspect, and repair as one service: no handoff gap, no waiting on a second contractor to diagnose what the first one saw.
One timing note that catches people off-guard: gas inserts and stoves still need an annual inspection even though they don’t produce the creosote a wood fire does. A gas appliance has its own failure modes – a blocked vent, a cracked liner, or a draft problem – that only an inspection catches, and those failures can produce carbon monoxide. The sweep-vs-inspect distinction matters here: a gas insert needs the inspection, not the brush. Build the pre-October inspection into your calendar either way.
What Homeowners Can Safely Observe
A useful checklist doesn’t ask you to do the technician’s job – it asks you to observe what’s observable and know when to stop. Here’s the split. Everything in this section can be done from the ground, the firebox, or the attic, with no tools and no climbing.
What you can safely check yourself:
- The cap and crown from the ground, with binoculars. Is the cap present? Is its top intact? Is the crown cracked, crumbling, or missing its slope? Is the masonry facing spalling or missing mortar?
- The firebox bricks and mortar after the burning season. Look for loose bricks, crumbling joints, and any crack that goes through the brick rather than just the mortar.
- The damper’s movement by hand and eye (see the dedicated section below).
- The firebox floor, for cracks in the base that runs under the fire.
- The ceiling and attic for staining near the chimney.
- The ground and roofline for fallen brick chips and flashing damage.
What to leave alone: the flue interior, the smoke chamber, the liner joints, and anything that requires a ladder to reach. The interior of the flue is the one part of the system you can’t read from below, and it’s the part that matters most. A clean-looking firebox tells you nothing about whether there’s a crack in the liner ten feet up. If you’re unsure whether a finding is structural or cosmetic, treat it as professional territory and get it looked at.
What Requires Professional Eyes
The division of labor here is straightforward: anything you can’t see or safely reach, a technician handles. That’s not a knock on the homeowner – it’s simply that the flue interior is a sealed space with a camera’s-eye view that only an inspector gets.
The professional pass on a St. Louis chimney covers the full system, cap to firebox, and it should be methodical rather than a quick glance on the way to the brush. Here’s what a Hawk inspection standard looks like in practice:
- Cap and crown. Assess for moisture intrusion, cracking, and loss of slope. This is the top of the moisture story.
- Exterior masonry and flashing. Look for spalling, cracked mortar, and any gap where the roof meets the chimney.
- Flue interior and liner. This is where an inspection camera pays for itself. Check for cracks, gaps between tiles, missing mortar, and creosote condition that you can’t see from below. A cracked or deteriorating clay liner is the single most common hidden failure, and it’s also the point at which cleaning alone is no longer the answer.
- Smoke chamber and damper. Check for debris, deterioration, and proper operation of the damper mechanism.
- Firebox. Read the masonry for cracks, spalling, and weakness in the joints.
When the inspection turns up a failing liner, there are two repair paths worth knowing about. HeatShield chimney resurfacing is a specialized method for cracked or spalling flue liners: it repairs the liner surface rather than replacing the whole liner. It’s a capability most sweep-only companies aren’t equipped to perform, and it’s often the right call when the liner has deteriorated but the structure around it is sound. For a liner that’s failed more completely, relining with a DuraFlex flexible liner system is the structural repair. Knowing which of those two the inspection points to is precisely why an honest, camera-based inspection comes first and the repair second. A camera inspection and photo report means you get to see for yourself what the technician sees, rather than taking someone’s word that the most expensive option is the only option.
Reading Your Cap and Crown After Storms
In St. Louis, hail and ice storms are the two events that do the most damage to the top of a chimney, and they do it in a way you can actually recognize from the ground. The cap and crown are the components to check first after any significant storm, and the visual cues below tell you how urgent it is.
Cap cues that signal failure:
- Missing spark screen. A torn or missing screen lets birds and debris in and means the cap isn’t doing its job protecting the flue opening.
- Rusted or dented top. Hail pits and dents a metal cap, and rust holes mean water is getting through. A cap that’s lost its top is the most urgent moisture problem on the chimney.
- Loose or shifted cap. A cap that’s tilted or off its mortar bed wasn’t just cosmetic – it’s exposing the top of the flue to direct rain.
- Debris accumulation. Leaves, twigs, or nesting material piled on the cap after a storm is a sign the windward side has taken a hit.
Crown cues that signal failure:
- A crack that goes all the way across. A hairline at the very edge is minor. A crack running the full width of the crown lets water straight into the masonry, and it’s the most common reason a benign crown problem becomes a masonry repair.
- Crumbling or spalling concrete. Chunks of the crown breaking off at the top is a sign the concrete surface is failing, and it’ll keep failing through freeze-thaw.
- Loss of slope. The crown should shed water away from the flue. A flat or dished crown holds water on top of the structure all year.
- Visible gap at the flue. The crown should seal to the outside of the flue. A gap there is a direct water channel inside the chimney.
The order of the cues matters. A cracked crown or a missing cap is worth an inspection sooner rather than later, because both let water into the structure where it does damage out of sight. The rest of the chimney will wait. The top of it won’t. A professional-grade cap and crown detail is one of those small-line-item, big-consequence repairs, and it’s why we treat the cap and crown as the first inspection points, not afterthoughts.
Firebox and Damper Tests You Can Do Without Tools
Two components in your chimney can be checked by hand and eye, safely, with no tools and no climbing: the damper and the firebox. Both tests belong in your pre-October routine, and both give you information a technician will appreciate having on file.
The damper test:
- With no fire lit and the chimney cold, open the damper fully. It should move freely through its full swing.
- Close it fully. It should seat and seal.
- Look up through the open damper with a flashlight. You should see no light coming through the closed damper when you shut it, and no daylight coming down through the flue when you look up – a visible light path means a structural opening, which needs professional eyes.
- Is the damper warped, rusted, or stuck? A damper that won’t open fully, won’t close, or feels gritty is a draft and efficiency problem, and often a rust problem that points back to moisture in the flue.
The firebox test (after the burning season, chimney cold):
- Look for bricks that are loose, tilted, or popped out of the face.
- Run your eyes over the mortar joints. Powdering, missing mortar, or joints recessed behind the brick face are signs of deterioration.
- Check the firebox floor for cracks that run down into the base.
- Look for white, chalky staining inside the firebox – a moisture signature on the inside of the system.
What to do with what you find: a slightly loose brick and a fully popped one are different problems, and the difference is whether the firebox still contains the fire safely. If you see anything that looks structural – a brick out of place, a crack through the brick instead of the joint, missing mortar behind the face – stop and get it looked at before your next fire. What you should never do is perform the repair yourself. Firebox and flue repairs involve refracting masonry, mortar rated for fire, and the integrity of the containment system. A fail here doesn’t just mean a bad repair – it means a fire with nowhere to go but into the structure. This is one job where the right answer is always a qualified technician.
How to Document Your Chimney Year Over Year
Here’s the piece most checklists leave out, and it’s the one that saves the most money over time: keep a record. A chimney doesn’t go from fine to failed overnight. It deteriorates along a curve that’s visible if you track it – and invisible if you don’t. A crack that’s half a millimeter this year and one millimeter next year is a totally different situation from a stable hairline that hasn’t budged in five years. Without a record, you can’t tell the difference, and you end up guessing.
Here’s a simple system:
- Take dated photos each season. One of the cap and crown, one of the firebox and damper, one of the roofline and flashing. Same angle, same framing, each time. If you have a camera inspection, keep the photos with your set.
- Write a one-line status for each checkpoint. “Spring: cap intact, crown hairline at edge, no staining.” Two lines a season, fifteen seconds of writing.
- Track the rate of change, not just the condition. That’s the whole point. A new crack gets measured. A stable one gets marked stable. The rate of change tells you whether to watch it or schedule the repair.
- Keep your written inspection reports in one folder. When an inspector checks the chimney and finds a liner issue, a report from two seasons ago showing the liner was sound becomes the evidence that tells you how fast it moved – and whether a resurfacing versus a relining is the right recommendation. The paperwork is how you hold any estimate accountable.
This year-over-year record is also your best defense against being sold work you don’t need. If the evidence is in your own file, a contractor’s recommendation has something to be measured against. And in our case, the camera inspection and photo report go with the job precisely because we’d rather you see the problem than take our word for it. Nothing is recommended without camera evidence you can see for yourself, and when the honest answer is that a repair can wait, we say so.
Common Mistakes to Avoid
- Waiting for a problem to announce itself. Chimney failures almost never make noise. The crack in the crown, the gap in the liner, the moisture in the masonry – all of it happens silently. The annual checklist exists because waiting for symptoms is the same as waiting for the repair bill to grow.
- Calling a sweep and calling it a maintenance plan. A sweep cleans. An inspection diagnoses. A sweep without an inspection means nobody looked at the liner, the smoke chamber, or the firebox. The two belong together, and a company that does both knows what it’s looking at from cap to firebox.
- Assuming a gas insert doesn’t need an inspection. Gas appliances produce less creosote but have their own failure modes – blocked vents, cracked liners, draft problems – that only inspection finds. An annual inspection matters on a gas setup just as much, and the risks include carbon monoxide.
- Ignoring the cap and crown because they’re at the top. Out of sight really does mean out of mind, and it’s the biggest reason moisture damage gets to structural levels. Check the top of the chimney twice a year from the ground.
- Burning unseasoned wood and then wondering why the flue gets glazed. Wet or green wood burns cooler, and cool burns are what leave the glazed, tar-like creosote that’s harder to remove and more flammable. Seasoned wood is a maintenance decision, not just a fire-building one.
- Letting the season decide the timing. In St. Louis, people call in October because that’s when they lit the first fire. The right order is inspection and sweep before the season starts, so any repair lands before the cold, not during it.
- Skipping the record. Without a documented history, you can’t distinguish a stable old crack from active deterioration. Fifteen seconds a season of writing is the cheapest insurance on the page.
When to Call a Professional
Most of the work on this checklist is yours to observe. A specific handful of findings means it’s time for a professional look, and the list is short. Call if you see a cracked or crumbling crown, a missing or storm-damaged cap, spalling or missing mortar on the exterior, water staining near the chimney inside the house, a damper that won’t seat, loose or displaced firebox bricks, or any sign of a heavy glazed creosote buildup. Call too if a chimney that used to draft well now smokes or smells – a change in draft is a change in the system. And call if you can’t remember the last time the chimney was inspected. That’s the honest answer for a lot of homes, and it’s not a criticism; it’s just the next step.
We can’t see a chimney from a phone, but we can get the right eyes on it. Hawk Chimney Sweep offers free estimates in St. Louis – call (866) 596-7310. We answer 24/7, and fast dispatch runs from 7am to 7pm, Sunday through Friday.
Frequently Asked Questions
Once a year for both, for a wood-burning fireplace that gets regular use. Gas inserts and stoves still need the annual inspection even though they produce little creosote. The sweep timing here is driven by the burning season – get it done before October, so the first fire of the year goes into a clean, inspected flue rather than a dirty, unexamined one. If you burn a lot of wood, a mid-season look at creosote buildup is a sensible addition.
It’s a methodical, top-to-bottom assessment of the full flue system, cap to firebox. That means the cap, crown, flashing, exterior masonry, flue liner, smoke chamber, damper, and firebox. The point of the method is to catch hidden hazards – creosote pockets, liner cracks, blockages – before they become fires or carbon monoxide events. You get a camera inspection and a photo report, so you can see what the technician sees rather than taking a description on faith. Nothing is recommended without evidence you can review yourself.
Maybe not – and that’s exactly why the inspection comes first. A cracked or spalling liner doesn’t automatically mean a full reline. HeatShield chimney resurfacing is a specialized repair for a deteriorating flue liner that’s still structurally sound around it, and it’s a capability most sweep-only companies aren’t equipped to offer. A full reline with a DuraFlex flexible liner system is the answer when the liner has failed more completely. Which one is right depends on what the camera shows. Sometimes the honest answer is that a repair can wait a year and be re-checked – and we’ll say that plainly when it’s true.
Two risks with different timelines. The near-term risk is a chimney fire from accumulated creosote – the glazed, tar-like build-up is flammable and a hot fire can ignite it. The longer-term risk is carbon monoxide and structural failure: a cracked liner or blocked flue can let combustion gases into the home, and moisture from a failed cap or crown breaks down the masonry and liner over years. Neither one announces itself. The inspection is how you find out which of the two is building on your chimney.
Usually yes, if it’s caught early. A damaged or missing cap is replaced; a cracked crown is repaired or resealed. Both are small-line-item jobs compared to the water damage they prevent when left alone. The catch is timing – a crown crack in spring is a crown repair, and a crown crack that’s had a full summer of rain work on the masonry beneath it can turn into a liner project. That’s the whole argument for the spring look.
Not without an inspection first, if you don’t know the chimney’s condition. The risk you’re taking is burning into a flue with unknown creosote levels, an unseen liner crack, or a blockage. A clean inspection gives you a clear answer. If the chimney was inspected and swept last season and nothing has changed, a quick pre-season pass and damper check is a reasonable lead-in – but the annual inspection is the safe baseline, and there’s no reason to make the first fire of the year an experiment.
The Bottom Line
A St. Louis chimney fails from the top down, and the checklist that prevents it is organized by season. Check the cap and crown from the ground after every freeze and every storm. Look at the firebox and damper by hand each year. Sweep and inspect before October, not after the first fire. Keep a dated record so you can see the rate of deterioration instead of guessing at it. And when the inspection turns up something real, fix it in the right season – a small crown repair in spring costs a fraction of the liner work a missed crack invites by fall. That’s the whole system, cap to firebox, watched over the year rather than once.
When it’s time for professional eyes, we handle sweep, inspection, and repair as one accountable service, using professional-grade products from brands like HeatShield and DuraFlex where the repair calls for them. Call (866) 596-7310 for a free estimate. We answer 24/7, and fast dispatch runs from 7am to 7pm, Sunday through Friday. A call outside dispatch hours is booked into the next opening.
Written by the team at Hawk Chimney Sweep.
See the difference
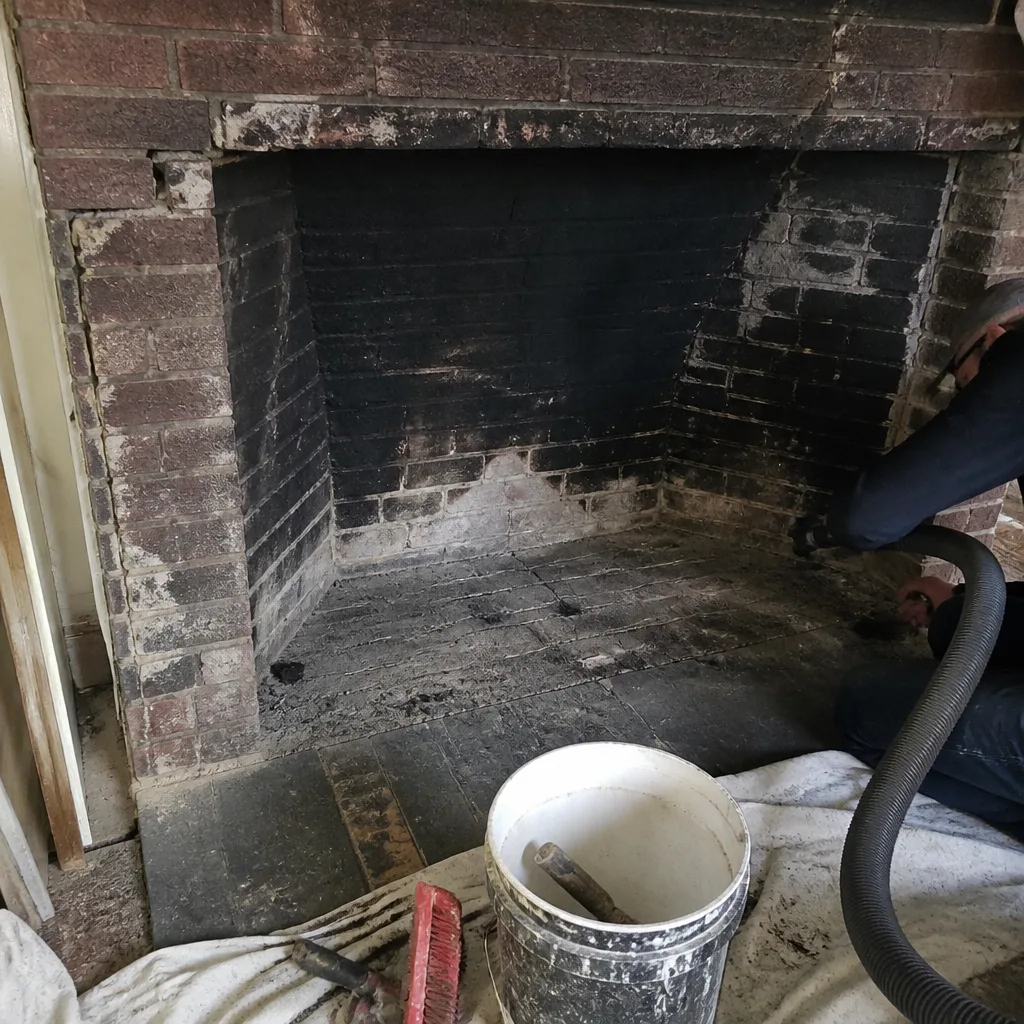 Before
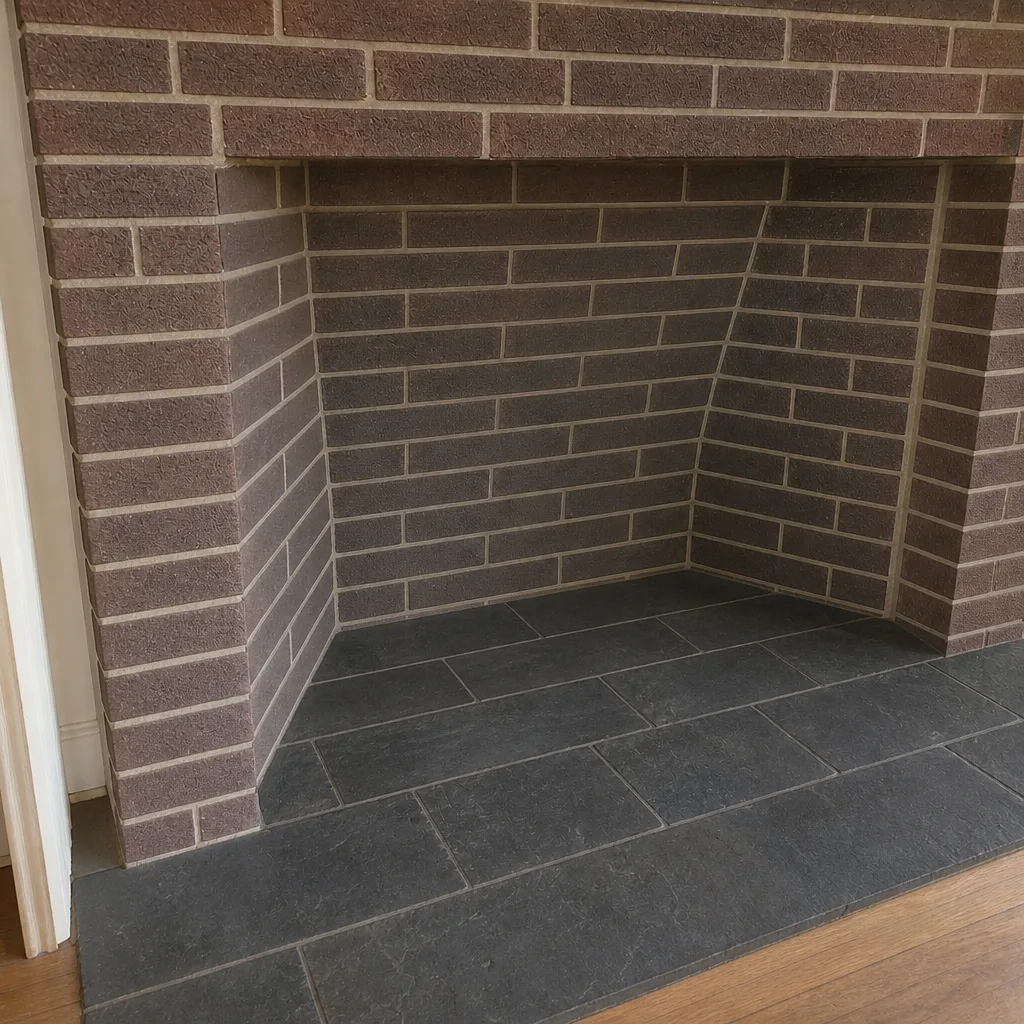 After
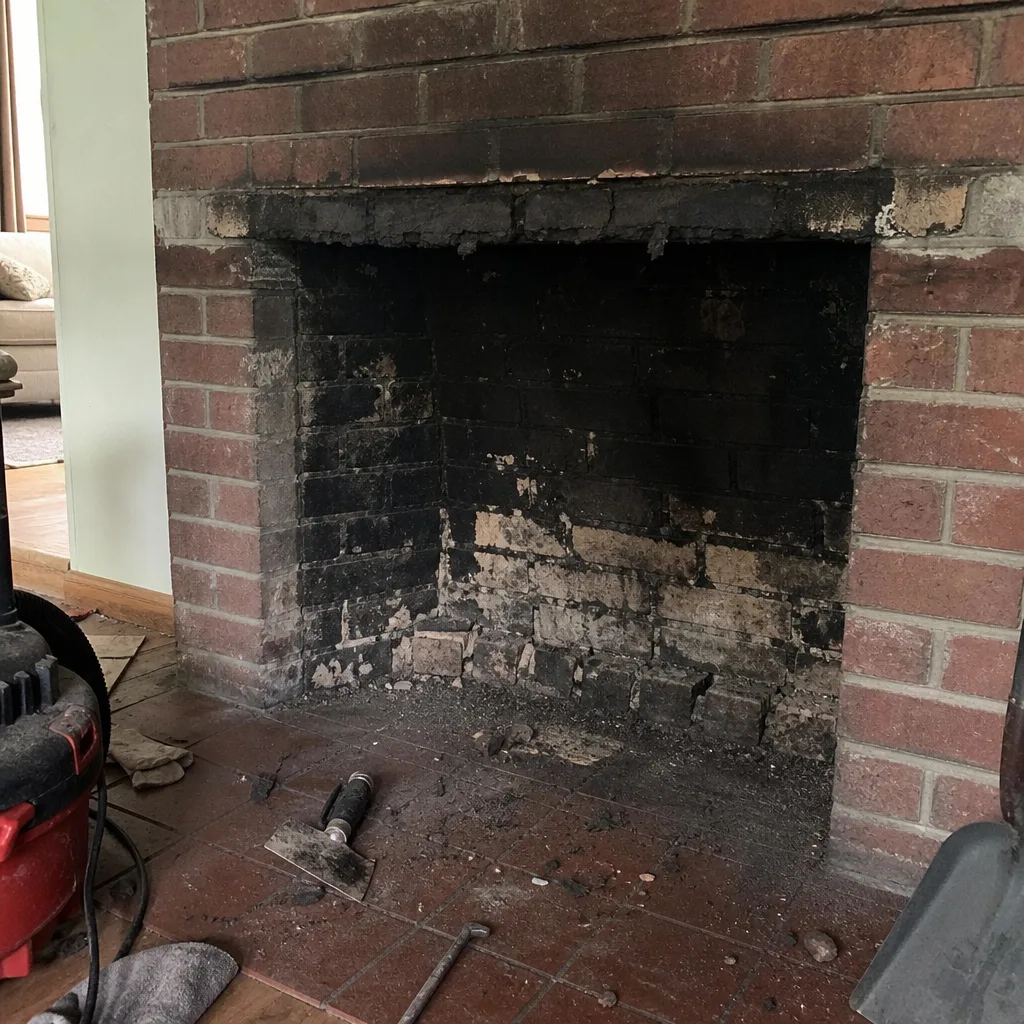 Before
 After
 Before
 After