
Last updated November 15, 2026
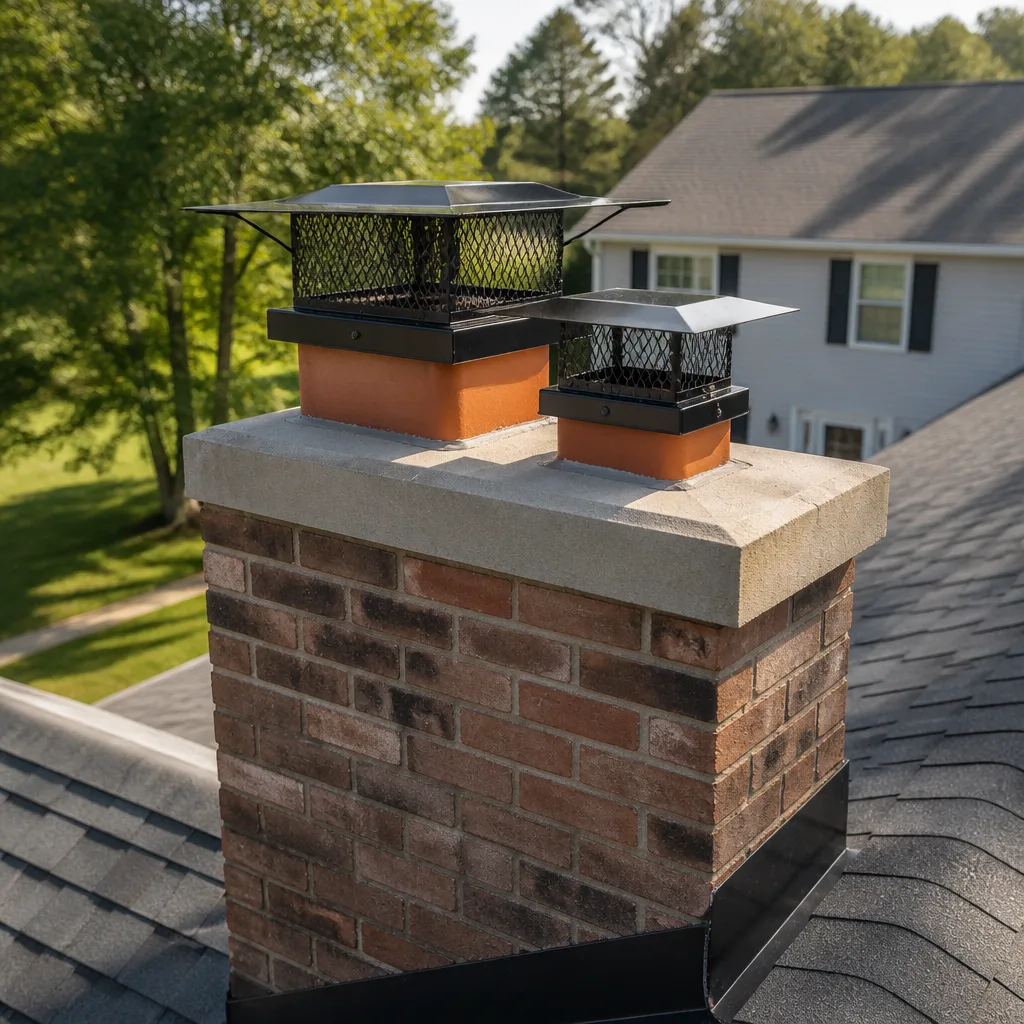 Sweep & inspection
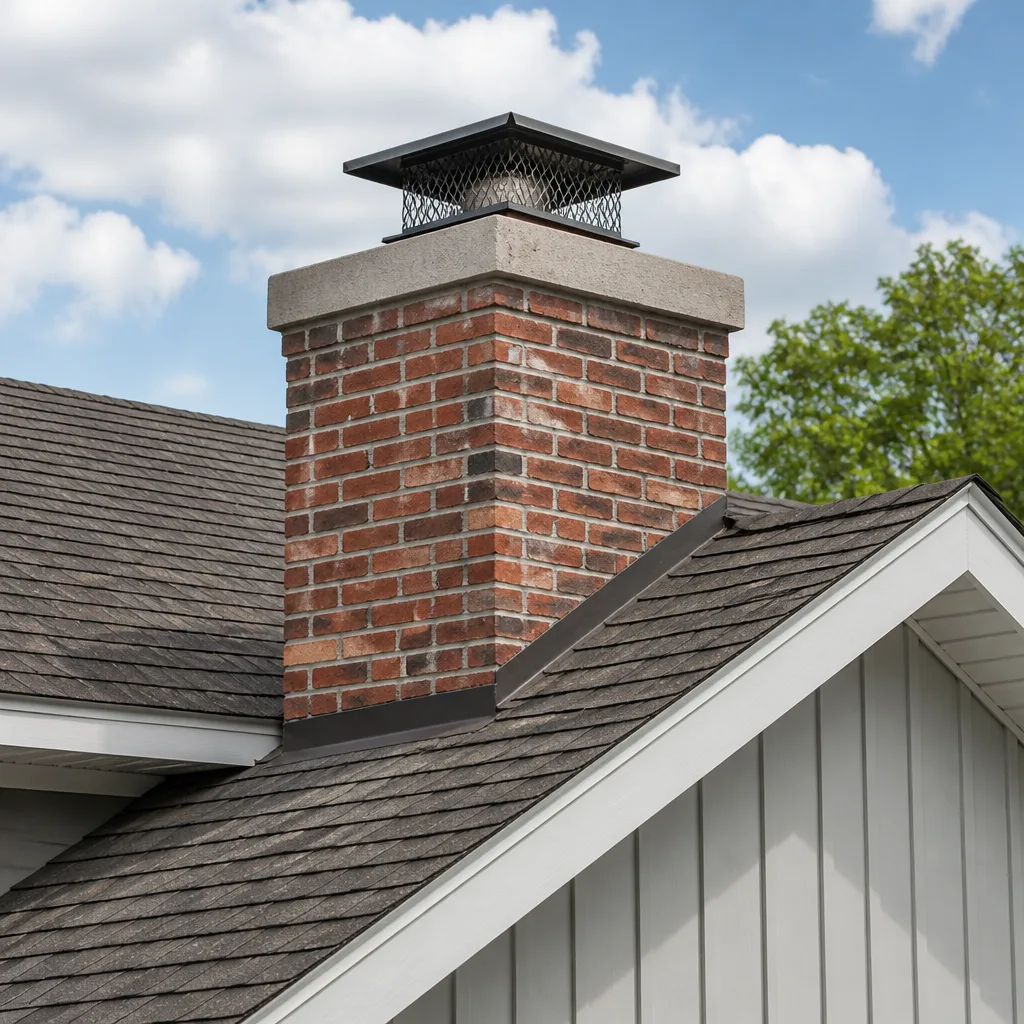 Caps & crowns
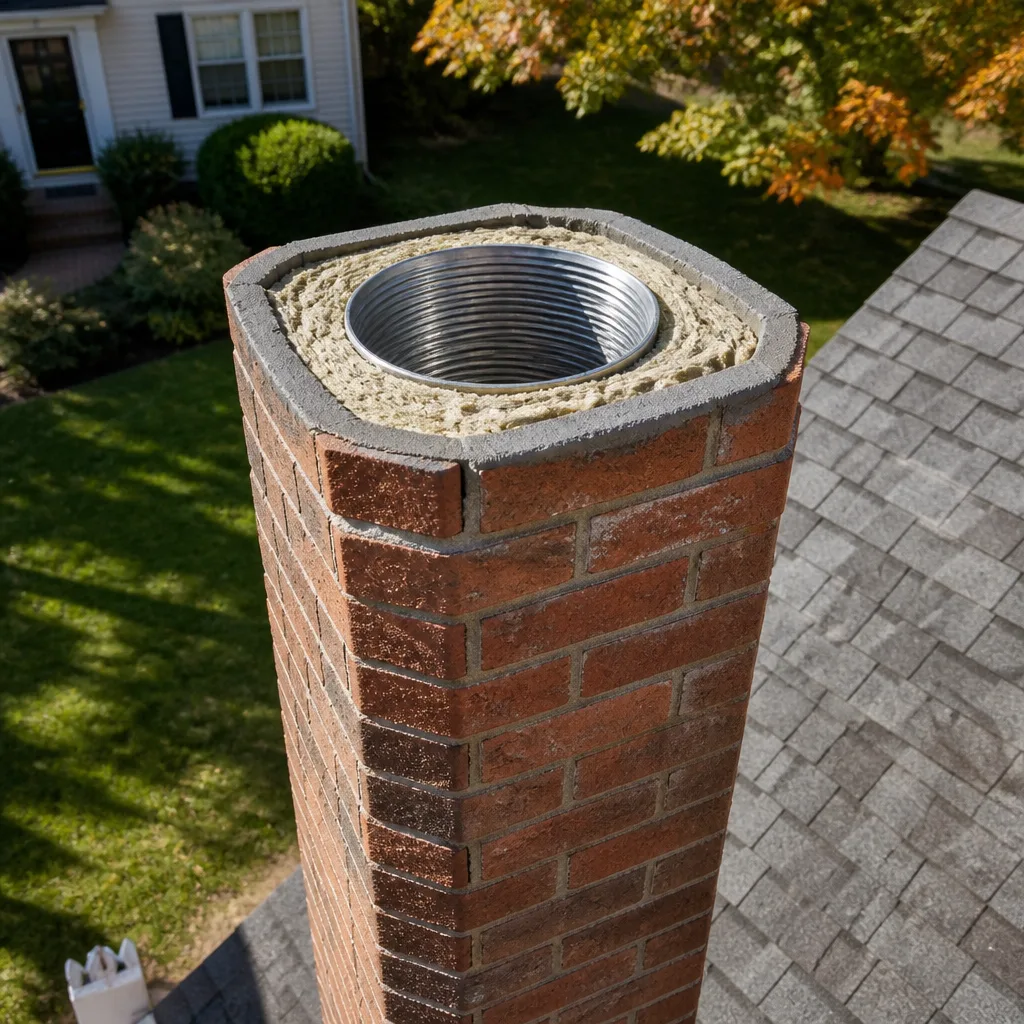 Flue relining
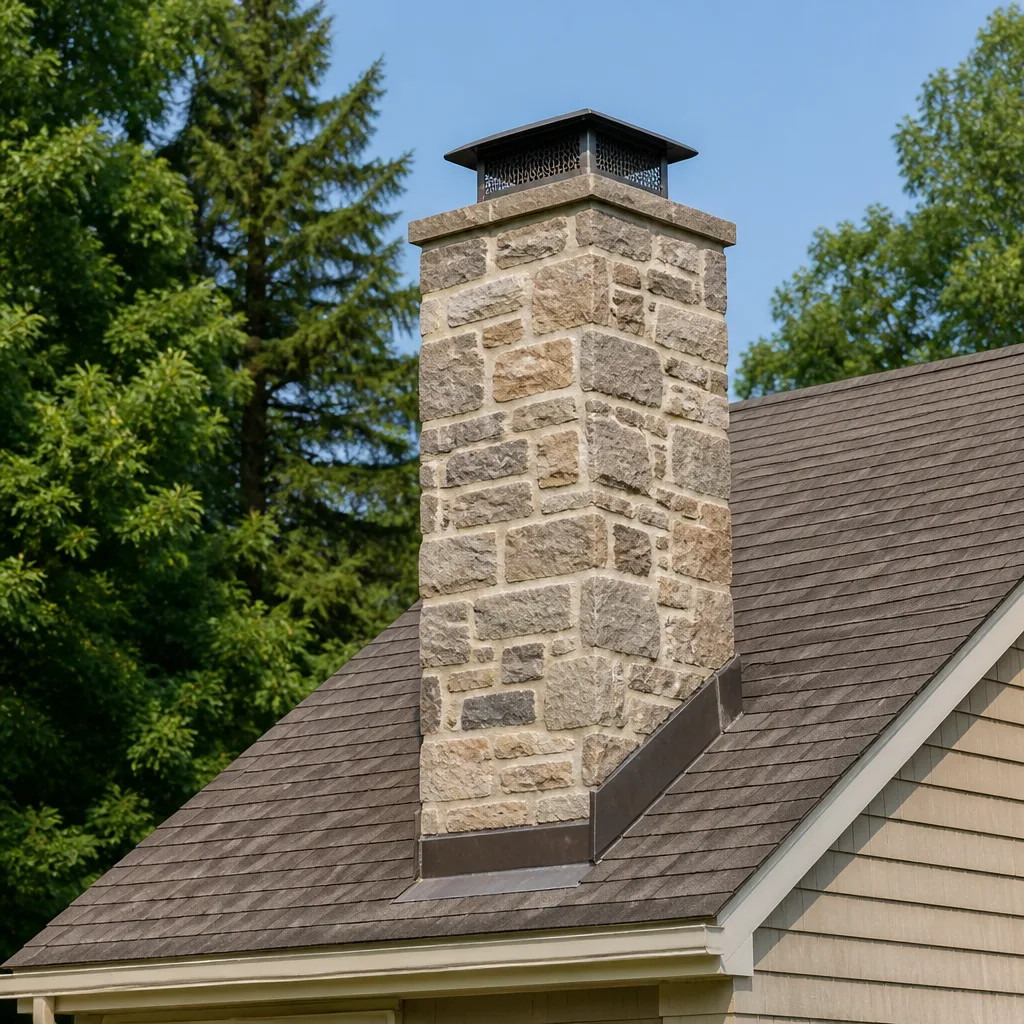 Masonry repair
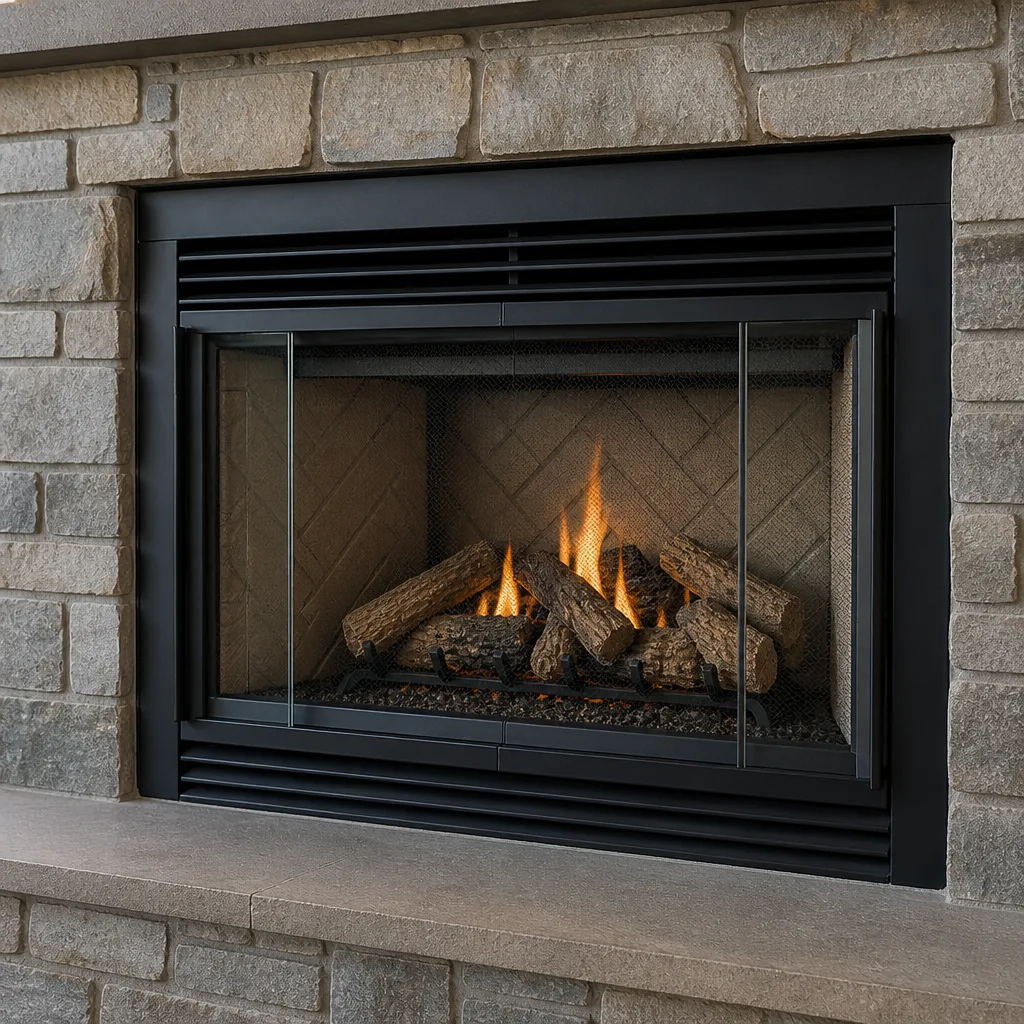 Gas fireplace service
Level 1 sweep and inspection to the NFPA 211 annual standard - flue, crown, cap, and flashing checked and photographed
Chimney sweep logs do not sweep chimneys. They loosen some creosote - which then falls where a brush and vacuum still have to collect it.
DIY vs Professional Chimney Cleaning: The St. Louis Homeowner’s Decision Guide
Most homeowners assume chimney cleaning is a simple brush-and-vacuum job. It looks simple, and cheap brush kits are sold right next to the fireplace tools at every hardware store in St. Louis. But those kits are built for one very specific condition: light, dusty creosote that brushes away easily. The reality of a fireplace in St. Louis after a full heating season is usually different. What actually determines whether a chimney can be cleaned by a homeowner isn’t confidence or a YouTube tutorial. It’s flue access, creosote stage, and liner condition. This guide walks through each of those factors, so you can make an informed choice rather than a hopeful one.
Quick Answer
Homeowners can safely clean a chimney only when creosote is Stage 1 (light, flaky, and thin), the flue is fully accessible, and there are no signs of liner damage, smoke backdraft, or animal intrusion. In St. Louis, most wood-burning fireplaces accumulate Stage 2 or Stage 3 creosote after a full season and require professional cleaning with proper containment equipment. A wrong DIY attempt often costs more to correct than the sweep would have.
Styles & brands we work with
- Sweep & inspection
- Caps & crowns
- Flue relining
- Masonry repair
- Gas fireplace service
Table of Contents
- The Three Stages of Creosote: Which Can You Handle?
- What You Can Safely Do Yourself
- Why Top-Down DIY Cleaning Fails
- Scenarios That Always Require a Professional
- Cost Comparison: DIY Gone Wrong vs. Professional Service
- Understanding Glaze and Why It’s Different
- St. Louis’s Climate, Housing, and Chimney Reality
- What to Do When You Call
The Three Stages of Creosote: Which Can You Handle?
Creosote doesn’t arrive in a single form. It builds up in three distinct stages, and each one behaves differently under a brush. Knowing which stage you’re dealing with is the single most important decision point in the DIY vs professional question.
Stage 1: Light, Flaky, and Brush-Cleanable
Stage 1 creosote is soft, soot-like, and typically less than 1/8 inch thick. It brushes away easily and, with proper drop cloths and a snug flue access point, a careful homeowner can address it without damaging the chimney. Stage 1 usually appears when wood is well-seasoned, the fire burns hot, and airflow is good. In St. Louis, a homeowner who burns only well-dried hardwood and has a chimney swept regularly might see mostly Stage 1 buildup.
Stage 2: Crusty and Stubborn
Stage 2 creosote is harder, denser, and clings to the flue walls in crusts or flakes. A standard homeowner brush kit struggles against it. It can smolder and reignite, which is why chimney sweeps treat Stage 2 buildup as a fire-risk threshold rather than a cosmetic issue. Removing Stage 2 generally requires professional rotary tools, and sweep-only visits often reveal it after the initial visual pass.
Stage 3: Glazed and Refractory
Stage 3 creosote has baked onto the flue interior into a glassy, hard glaze. It cannot be removed with a standard brush at all; it requires mechanical rotary equipment, and in severe cases the liner itself is evaluated for replacement. Glazed creosote burns at very high temperatures, which is one of the reasons our inspection-first approach looks at the liner before the brush goes in.
What You Can Safely Do Yourself
A handful of chimney maintenance tasks are genuinely within reach for a capable St. Louis homeowner. These rarely require special tools and don’t involve the firebox interior in a way that risks injury or liner damage. Doing them well also gives you better information when you do call for service.
Safe DIY Checks
- Cap and screen inspection. From the ground or a safe ladder position, check that the chimney cap and spark screen are intact and free of bird nests or leaves.
- Firebox visual check. With a flashlight, look for cracked firebrick, loose mortar joints, or visible soot patterns that suggest poor draw.
- Damper function test. The damper should open and close fully without sticking. A damper that won’t seat correctly affects draft and safety.
- Firebox floor debris removal. Ash, unburned wood, and debris at the base of the firebox can be swept up and disposed of safely.
- Creosote inspection from below. With a bright light and a mirror, examine the first few feet of flue above the damper for obvious glazing or heavy crust.
What to Note During the Check
Write down what you see. Note the creosote condition, any visible cracks, the age of the flue liner if you know it, and whether the chimney caps are intact. This isn’t busywork: the notes help your sweep prioritize and help you decide whether the next step should be a professional call. It’s also how a consumer makes an informed decision rather than guessing.
Why Top-Down DIY Cleaning Fails
Top-down cleaning with a rented brush kit seems intuitive: stand on the roof, drop the brush down, pull it back up. But that method fails in practice for reasons that aren’t obvious until you’ve watched it go wrong. The commercial chimney services that kit up for a job bring containment equipment precisely because those failure modes are well-known in the trade.
Three Reasons It Fails
- No containment. Without a sealed vacuum system and drop cloth coverage, soot and creosote fall into the firebox, drift into the room, and coat surrounding upholstery and flooring. A $300 chimney sweep becomes a $1,500 interior cleaning job.
- Roof access risk. Chimney work involves height, uneven footing, and often steep roof pitch. In St. Louis, slick leaves and winter moisture make that risk real. A professional handles this territory safely.
- Wrong brush diameter and material. A brush that’s too large or too abrasive can score or crack a clay tile liner, which is far more expensive to fix than a clean. Professional brush kits are sized to the flue, not the chimney exterior.
What Professional Containment Looks Like
- A canvas drop cloth seals the firebox opening.
- A high-volume vacuum with HEPA filtration creates negative pressure in the room.
- The brush is selected to match flue shape, diameter, and interior material.
- Creosote that’s already glazed is treated with rotary tools, not a wire hand brush.
- The chimney technician photographs the interior before and after cleaning.
Scenarios That Always Require a Professional
Some situations call for a trained eye regardless of how capable the homeowner is with tools. In our experience, these are the scenarios where a do-it-yourself attempt risks making a small problem into a structural repair.
- Any liner concern at all. A cracked, spalling, or deteriorating flue liner is a carbon monoxide and structural fire risk. If you see any indication of liner damage, stop and call. A professional chimney inspection with camera equipment is the right next step, and repairs like HeatShield resurfacing exist specifically for flue liner restoration.
- Stage 2 or Stage 3 creosote. Professional-grade rotary tools and informed judgment about liner condition are required once creosote has moved beyond Stage 1.
- Smoke backdraft. Smoke entering the room rather than venting up the flue signals pressure or obstruction problems that a brush won’t fix.
- Animal intrusion. Nests, dried debris, and trapped animals can block the flue entirely and pose serious hazard. Professional removal is the right move.
- Any evidence of a past chimney fire. Warped dampers, cracked tiles, and heat-stained caps should be evaluated before the chimney is used again.
- Unclear flue condition. If you don’t know how long it’s been since the chimney was swept, don’t assume Stage 1. Start with a professional assessment.
Cost Comparison: DIY Gone Wrong vs. Professional Service
The dollars-and-cents case for professional service in St. Louis isn’t about the price tag on the sweep. It’s about the total cost of ownership once you include equipment rental, time, and any correction work if a DIY attempt fails. Here’s how the two paths typically compare when a job is medium-to-heavy.
DIY Attempt (When It Goes Sideways)
- Brush kit or rental: modest, but rarely the right size or material for the flue.
- Interior cleaning after soot drift: significant, especially if carpets, upholstery, or HVAC returns are affected.
- Cost to correct any liner damage from an oversized or misused brush: can approach or exceed the cost of relining.
- Time cost: a full afternoon, plus follow-up cleaning time.
- Residual risk: unknown creosote stage if not fully removed.
Professional Service Done Correctly
- Sweep, inspection, and repair under one roof, from one accountable company.
- Proper containment, so no interior cleanup afterward.
- Line-item written estimate before booking, with photo documentation.
- Repairs handled in the same visit when possible, using branded professional materials like DuraFlex liners or HeatShield resurfacing.
- The chimney returns to safe service without risk of a second call.
Estimates are free and per job in St. Louis. The written estimate sets the final price, so you always know the total before the technician arrives.
Understanding Glaze and Why It’s Different
Glazed creosote is the form most misunderstood by homeowners. It looks like a hard, shiny, dark coating on the flue interior. That shine is the tell: the creosote has been through a high-temperature event and baked onto the liner. It never brushes off in that state.
What “Glaze” Actually Means
Glazed creosote is essentially a refractory layer. Its ignition temperature is high, which means it can sit quietly through many fires without obvious issue, then ignite under the right conditions. When it does ignite, it can burn hot enough to crack clay tiles and compromise the flue. That’s the specific hazard to look for if you notice any glazing.
Why a Brush Won’t Touch It
A standard brush either glides over the glaze or scores it superficially. Professional rotary tools with appropriate attachments remove glaze gradually and evaluate the liner condition at each pass. This is where professional chimney cleaning and a proper chimney inspection overlap: the liner needs to be assessed while the glaze is being removed.
When Glaze Reveals a Bigger Issue
Removing glaze sometimes reveals cracked or spalling tiles beneath it. That’s when HeatShield resurfacing or a DuraFlex flexible liner becomes the right answer, not another brush pass. In our experience, this is exactly the situation where a “cheap sweep” turns into a callback: the sweep removes the creosote but doesn’t have the tools to address the liner.
St. Louis’s Climate, Housing, and Chimney Reality
Chimney wear depends a lot on local climate and housing stock. In St. Louis, two factors shape what a homeowner is likely to find up the flue.
The St. Louis Heating Season
St. Louis gets a real winter with enough cold stretches that fireplaces get regular use from fall through early spring. That’s good for the home but hard on the flue: the more heating cycles, the more creosote accumulates. The other side of the equation is our humid summers, which can accelerate moisture problems in the chimney cap and crown area. Both matter when assessing the flue.
Older Housing Stock in the City and Inner Suburbs
Many St. Louis homes were built in eras when the standard was a single clay tile liner. That’s fine when the tiles are intact, but they don’t tolerate severe neglect well. Neighborhoods across St. Louis, from the Tower Grove area through South City and out into older parts of the county, have plenty of these chimneys. A professional inspection with the right camera and tooling sees exactly what’s going on in that liner before the brush goes up.
Burning Habits Affect Creosote More Than Chimney Age
In our experience, a well-burning homeowner can have a clean flue even in an older chimney. Meanwhile, a wood stove run at low damper settings with unseasoned wood can coat a flue very fast. The chimney you own matters, but the way you burn has more to do with which creosote stage shows up at inspection time.
What to Do When You Call
If this guide has made it clear that professional service is the right next step, here’s what a call actually looks like. It’s a straightforward process, and one call covers the full chimney system from cap to firebox.
- Book a sweep and inspection. We ask a few questions about your setup and schedule a visit that fits your needs and the current state of the flue.
- Inspection first, then cleaning. A Hawk-eyed inspection of the full flue system happens before any brush goes up. That’s how we know what we’re cleaning, not just that we cleaned it.
- Photo documentation. You see what we see: the creosote stage, liner condition, any blockages or cracks.
- Line-item estimate before repair. If a repair is needed, you get the cost in writing before we start work, not after.
- Sweep, inspection, and repair from one team. One call, complete chimney care. No handoffs, no wondering whether the next contractor will agree with the last one.
Common Mistakes to Avoid
- Assuming the brush kit will handle it. Most consumer-grade brushes are built for Stage 1 creosote only. If your buildup is Stage 2 or 3, the kit makes the problem worse by loosening creosote without removing it. In St. Louis homes that heat all winter, Stage 2 is common.
- Skip the liner inspection to save time. The liner is the safety-critical component. A quick visual check from the firebox floor does not reveal hairline cracks or spalling tiles higher up the flue, and those are what cause carbon monoxide issues.
- Clean from the roof without containment. Even a careful homeowner will leave soot on the firebox surround, floor, and nearby furniture. Containment is why professional sweeps are fully dressed for the job and the room goes back to normal afterward.
- Burn unseasoned wood through the cold months. Wet wood is the fastest route to Stage 2 creosote. If your wood was split this year, it’s not ready for a St. Louis winter fire.
- Ignore a smoking damper. A damper that sticks or settles closed is a backdraft signal, not an inconvenience. It should be evaluated by a professional chimney inspection before you build another fire.
- Call a sweep-only company when the flue needs work. If the inspection turns up a cracked liner, a sweep-only crew has to hand you off to someone else. The accountability gap is exactly what professional full-service chimney work is designed to eliminate.
- Wait until the first cold snap. St. Louis chimney sweeps book heavily in October and November. If you want to be ready for the season, book early. That’s not urgency for the sake of urgency; it’s the reality of scheduling.
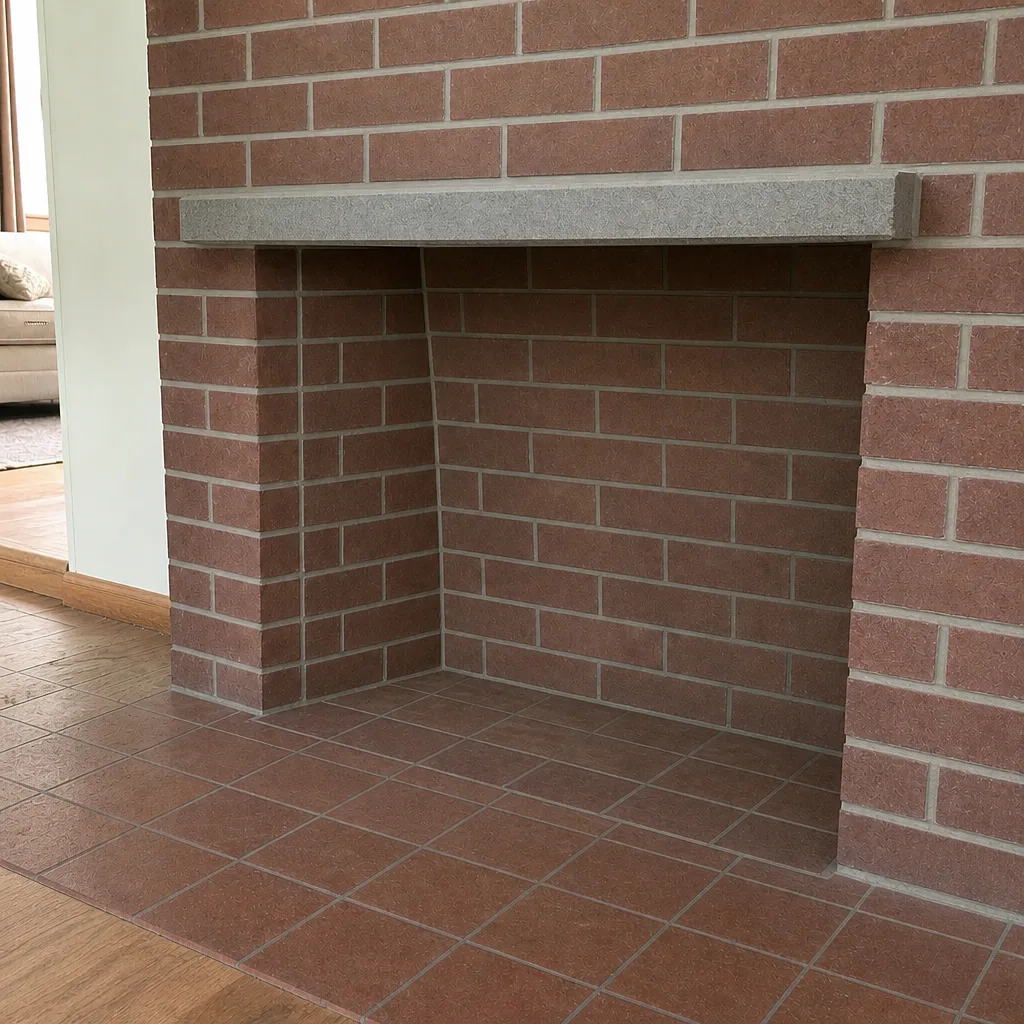
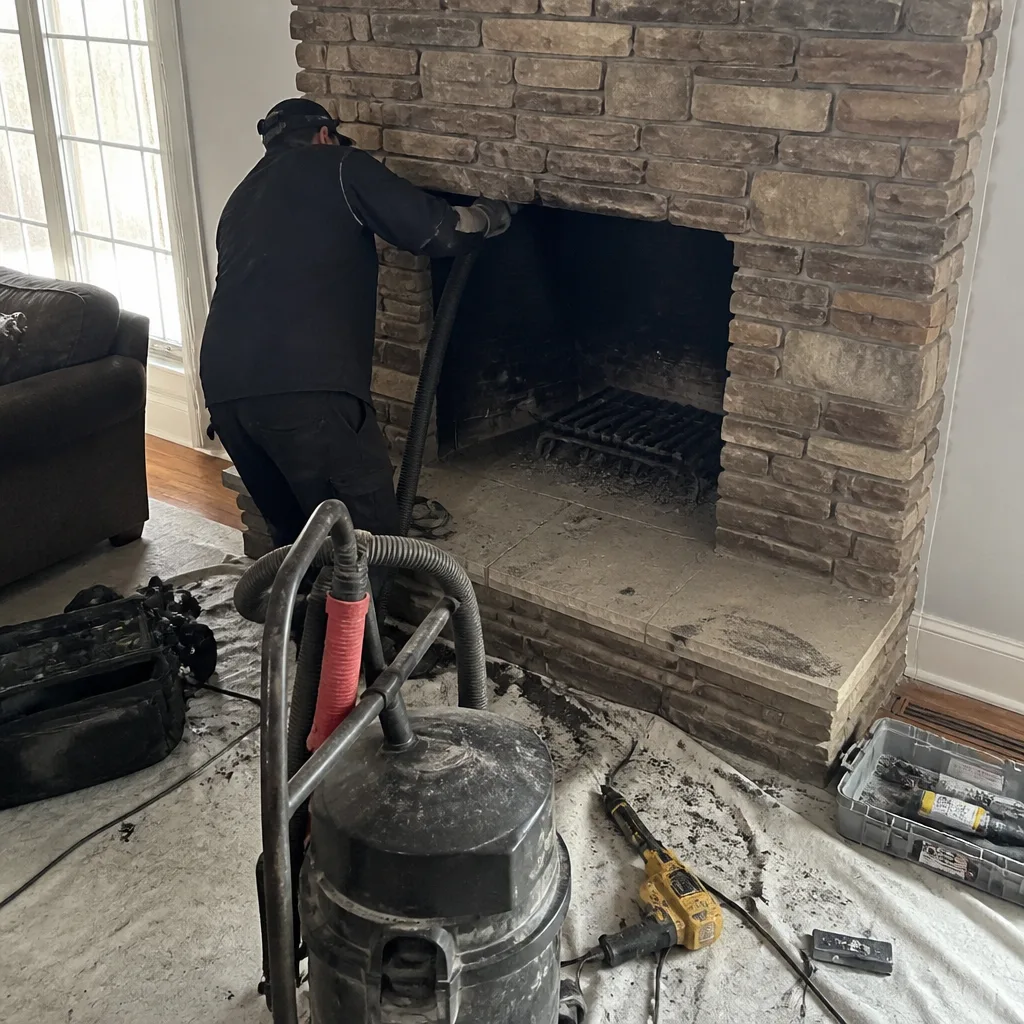
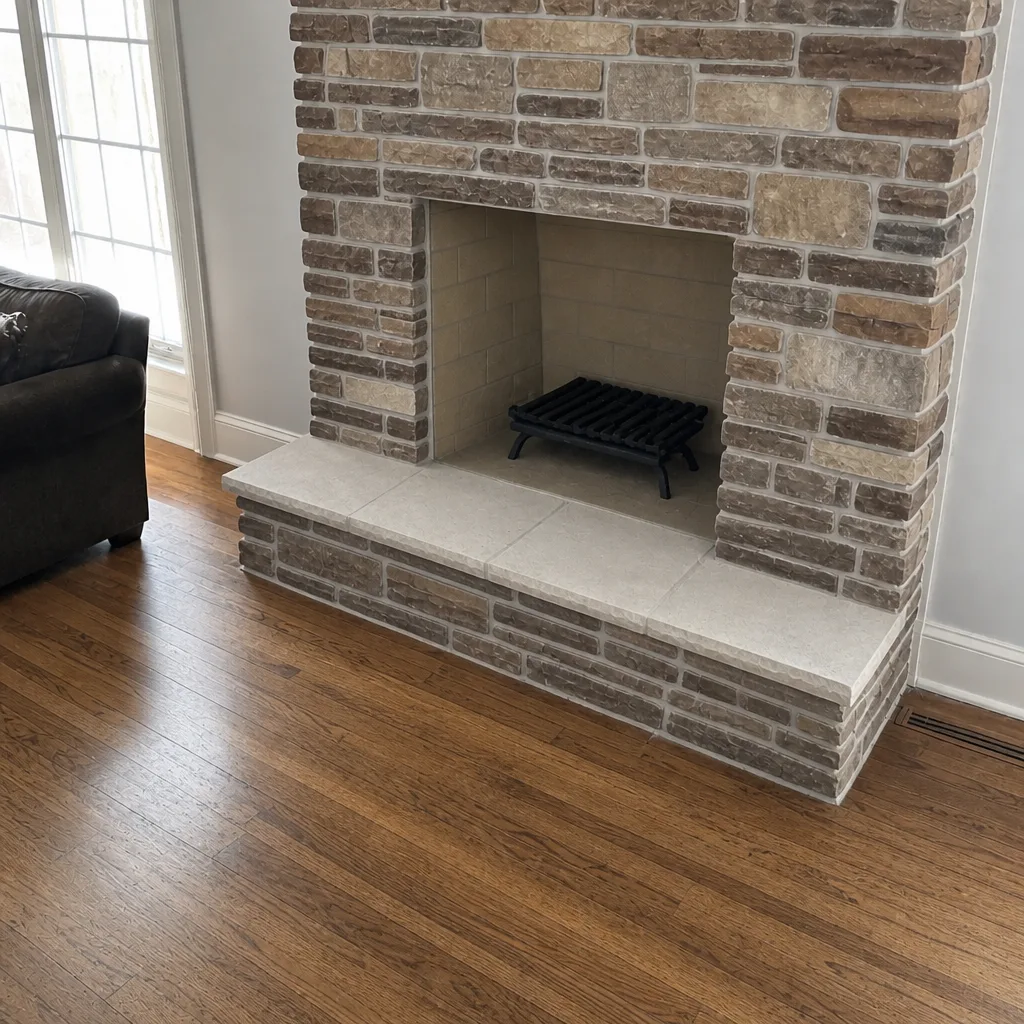
See the difference
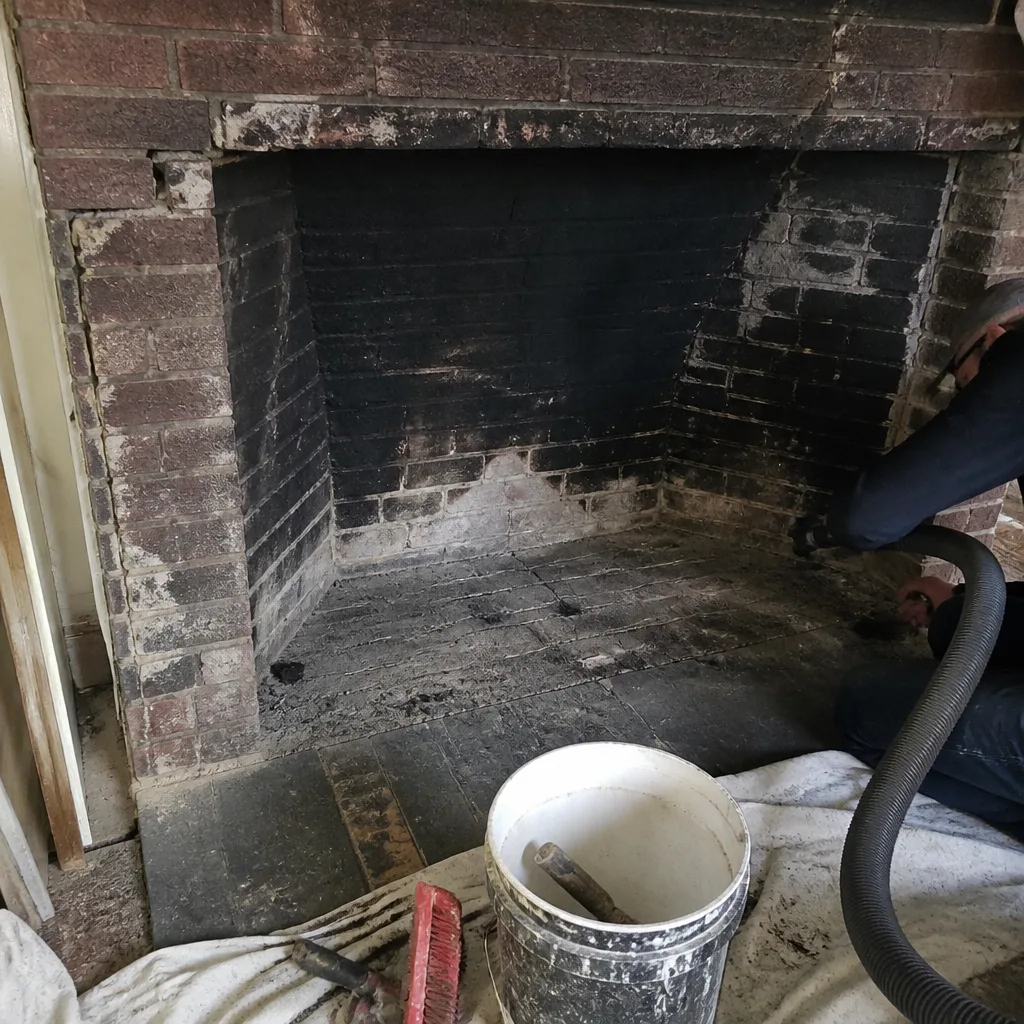 Before
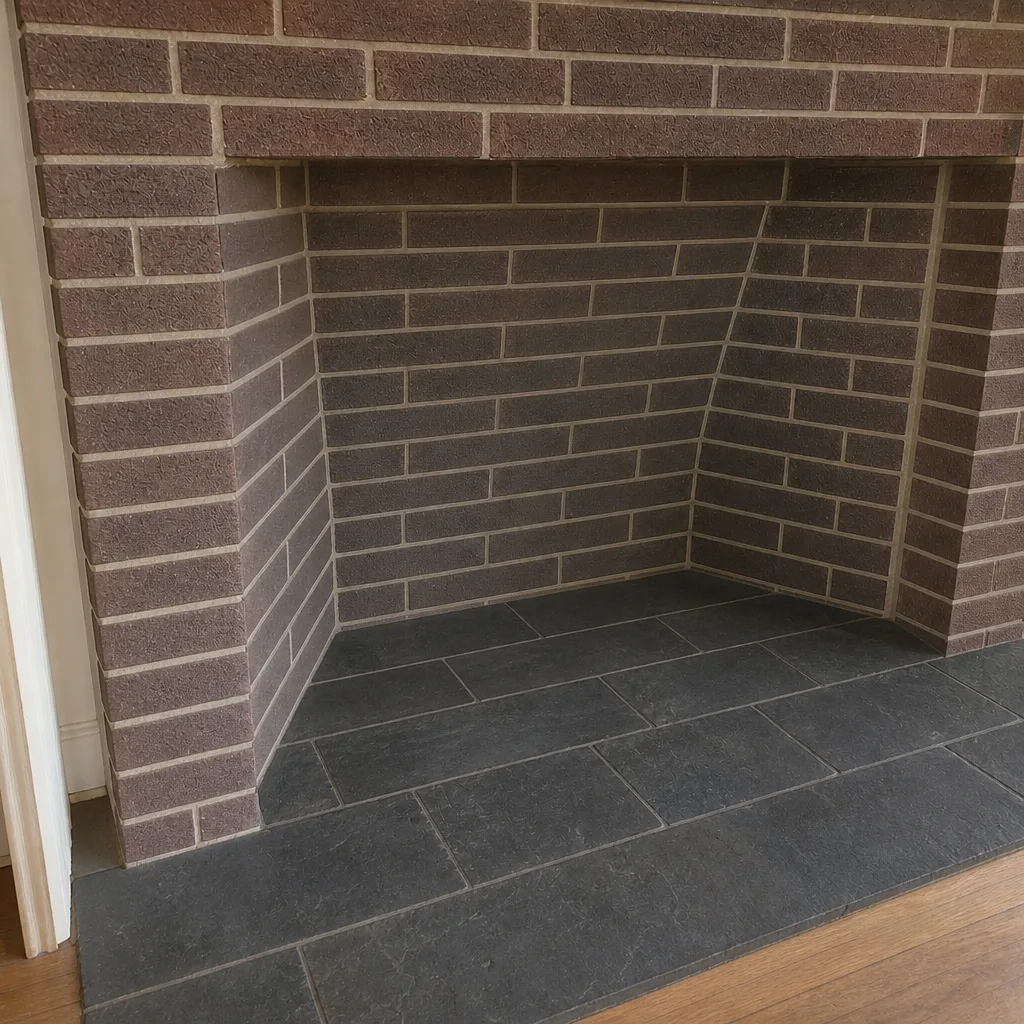 After
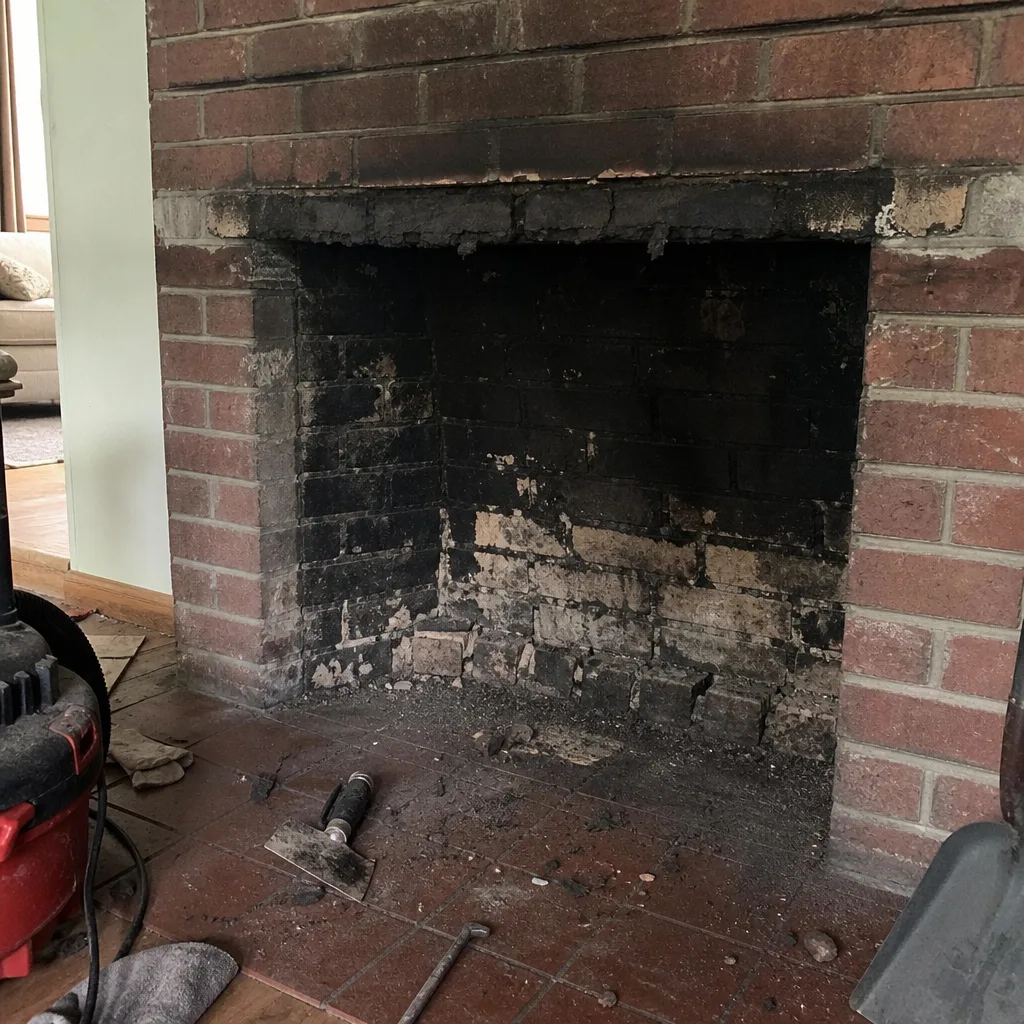 Before
 After
 Before
 After
When to Call a Professional
Call a professional sweep before you light the first fire of the season if it’s been more than a year since the last visit, if you see glazing in the flue, if you notice smoke entering the room, or if the chimney cap shows signs of animal activity. Call sooner if any liner condition concern exists; those matter most. Hawk Chimney Sweep offers free estimates in St. Louis. Call (866) 596-7310. We answer 24/7. Fast dispatch from 7am to 7pm, Sunday through Friday. Our technicians have up to 12 years of experience, and they handle sweep, inspection, and repair under one roof.
Frequently Asked Questions
Once a year for most homes, or more often if you burn frequently or notice buildup. A professional inspection each year keeps you current on liner condition, which is the real safety check. Call (866) 596-7310 for a free estimate on a sweep and inspection.
Only if the creosote is Stage 1 and the flue is fully accessible. Once you see Stage 2 crusts or Stage 3 glazing, or any sign of liner damage, the right move is a professional. In practice, most St. Louis homes after a full heating season are past Stage 1.
Creosote accumulates and moves from a light Stage 1 to a harder Stage 2 or 3, which raises the risk of a chimney fire. A crack in a clay liner that a professional would catch on inspection can also lead to carbon monoxide issues. The right answer is a scheduled sweep, not a wait-and-see approach.
You can estimate Stage 1 from the firebox floor with a bright flashlight and a mirror, but Stage 2 and 3 need a professional inspection to confirm. If the buildup looks glazed or crusty, assume it’s past Stage 1 and call. We see this weekly in St. Louis homes that haven’t been swept recently.
Yes. An inspection catches liner cracks, blockages, and cap issues that a cleaning alone can miss. A sweep without a check of the full flue system is only half the job. Call (866) 596-7310 for a free estimate on both.
Yes. Sweep, inspection, and repair are handled by one accountable company, using professional-grade materials. If a liner concern turns up, we assess it and provide a line-item written estimate before any repair starts. That includes options like HeatShield resurfacing and DuraFlex liner systems so the flue ends up in a code-compliant state. Estimates are free.
The Bottom Line
The DIY vs professional chimney cleaning question has a clear answer for most St. Louis homeowners: DIY works only in the narrow band where creosote is Stage 1, the flue is accessible, and there’s no sign of liner damage. Once you’re past that band, professional service is the right call, and importantly, it costs less than a DIY attempt that goes wrong. A brush kit designed for light soot won’t fix glazed creosote, and a top-down attempt without containment turns a routine sweep into an interior cleanup. If you’re unsure which stage you’re dealing with, that’s the sign to call.
Call Hawk Chimney Sweep at (866) 596-7310 for a free estimate. We answer 24/7. Fast dispatch from 7am to 7pm, Sunday through Friday. Estimates are free, the written estimate sets the final price, and one call covers the full system, from sweep to chimney repair.
Written by the team at Hawk Chimney Sweep.